An asphalt driveway is a great investment for your home, providing a smooth and durable surface for your vehicles and enhancing the overall exterior appearance of your property.
However, over time the exposure to the elements and daily wear and tear can cause the asphalt to deteriorate and lose its protective coating. This is where resealing comes in, allowing you to protect and extend the lifespan of your driveway.
Read more as we will provide you with a comprehensive guide on how to reseal an asphalt driveway in today’s post.
How It Should Be Done
Sealing should only be done by professionals because it requires specialized equipment and knowledge. If you choose to do it yourself, make sure you’re using an asphalt sealer that’s specifically designed for the job and is approved by your local building authority.
Here are the steps on how they do the sealing process:
- Inspection – A reliable, professional contractor will kick off every asphalt driveway resealing project with a thorough inspection. They will carefully scan your driveway for any cracks, holes, or other visible signs of deterioration that must be addressed before the work can begin.
Furthermore, they will survey the drainage patterns of the property to proactively address any potential issues before they become a problem.
- Cleaning Of The Surface – After a thorough evaluation, an experienced contractor will use either high-pressure washing or mechanical sweeping to thoroughly clean your driveway, eliminating any leftover dirt and debris. Additionally, all excess vegetation will also be removed.
To ensure top-notch functioning of the sealcoating, they will deploy a degreaser to eliminate any remnants or signs of oil.
- Surface Repair – After careful assessment of your driveway, any visual irregularities such as cracks, potholes, or divots must be patched up with asphalt patch. For more significant damages, such as large fractures, a professional might opt for complete reconstruction or milling to restore it back to its original state. Furthermore, soil stabilization is also conducted during this process to guarantee that further complications won’t arise and impact the longevity of your driveway.
- Crack Filling – Once you have resurfaced the driveway, it is essential to fill any cracks with an asphalt crack filler for a seamless look and long-term durability. Using lower-quality alternatives can easily cause additional damage when exposed to traffic or weather conditions. Investing in the right material is key; otherwise, you could be looking at costly repairs down the line.
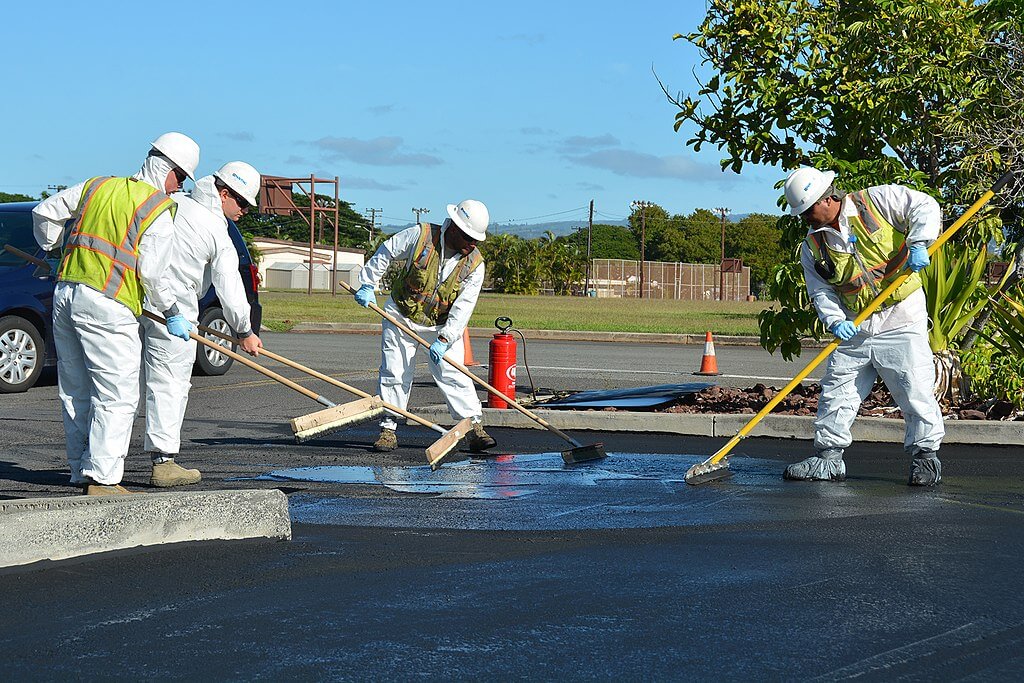
- Sealing – Now that the driveway has been completely restored and secured, it is time to apply the sealer. This can be accomplished with a spray system or squeegee system; however, a professional contractor needs to ensure that not too much of the product is used for an even application. Otherwise, if too much sealant is applied, it could lead to unsafe conditions as well as premature wear and tear of the pavement’s surface.
The application of the sealcoat is one of the most critical parts of the driveway resealing process. Several factors may impact the quality of the coat, including weather conditions (temperature and humidity) and the formulation of the sealcoat. A professional contractor will carefully adjust these variables to ensure that the sealcoat cures properly and delivers optimal results.
Professional contractors often use specialized sealcoats which are strong enough to stand up against the forces of nature, UV degradation and vehicular traffic. These sealcoats take into account the varying degrees of harmful UV radiation depending on region, the severity of the seasonal weather changes, and the time-frame of resistance that the client desires.
- Curing – Once the sealcoat has been applied, it’s important to allow 24 – 48 hours for the pavement sealer to cure before any traffic is allowed on the surface.
During this period, it is vital to make sure the area is insulated and supervised to prevent any destruction caused by unintentional traffic, pedestrians, or other impediments. The healing time will vary based on your locality’s weather as well as the type of sealer used.
Insider Tips
For the most flawless driveway resealing job, here are some tips that professional contractors swear by:
- Selecting the perfect sealcoat and applying it in ideal weather conditions are pivotal steps to guarantee your driveway’s longevity.
- Extensively cleaning the surface prior to applying the sealant is essential for guaranteeing effective adhesion.
- Skilled contractors ensure that they focus on premium-quality repairs for a successful and enduring resealing process.
- By following proper curing procedures and avoiding premature traffic, professionals can ensure that the sealcoat cures properly.
- One layer of sealcoat may not be enough to increase the longevity of the driveway, so it’s not uncommon for professional contractors to apply multiple layers over a period of days to ensure its durability.
Conclusion
Resealing an asphalt driveway may seem like a simple task, but it requires careful planning, expertise, and specialized tools to ensure its longevity. While there are some steps homeowners can take to reseal their driveway, working with a professional contractor is often the best solution.
By following the right steps and using the right materials and methods, a professional contractor can ensure that your driveway looks great and lasts for many years to come.
Contact Salt Lake City’s trusted paving company, A-Rock Asphalt today to get started with the resealing of your asphalt driveway.